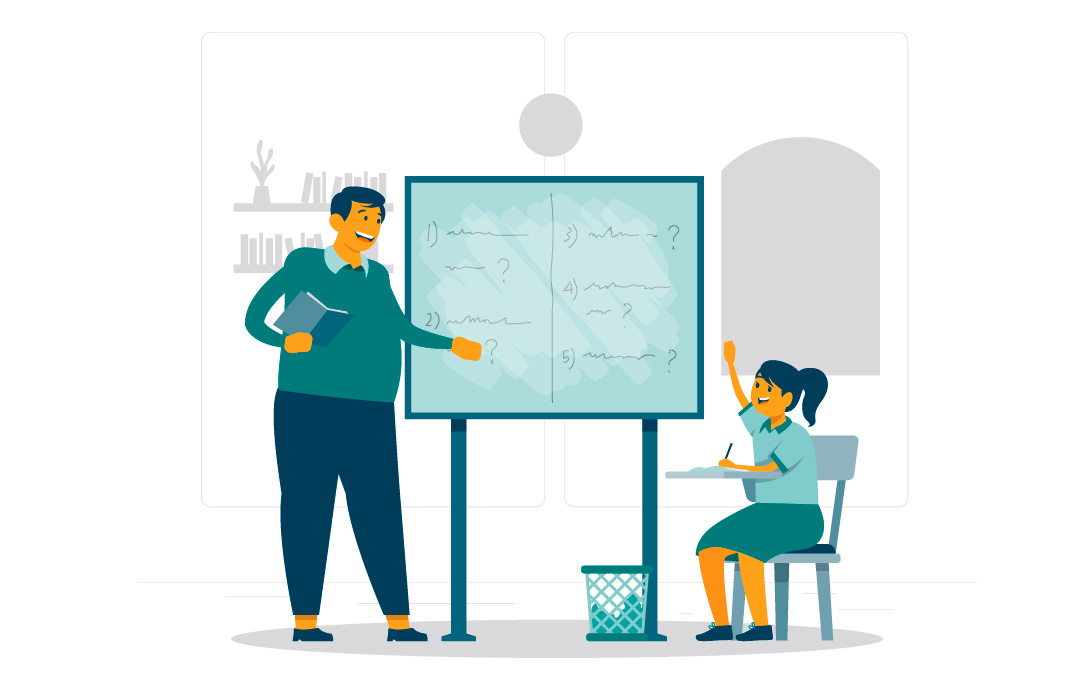
Planning a lesson can feel like a balancing act. You’re trying to organize your thoughts, keep students engaged, manage time effectively, and deliver content in a way that makes sense. It’s easy to feel pulled in too many directions at once.
Microteaching helps you step back and focus on one part of your teaching at a time. Instead of preparing a full-length lesson, you create a short, targeted session that lets you practice specific skills, like giving clear instructions, using visuals effectively, or checking for understanding. It’s a low-pressure way to build confidence and improve your technique.
In this guide, you’ll learn how to create a microteaching lesson plan that’s purposeful and easy to put into practice. We’ll walk through each step and look at real examples so you can teach with more clarity and control.
What is Microteaching and How Does it Help?
Microteaching is a teaching style that sharpens your teaching skills in small, manageable pieces. You teach a short lesson focused on one objective, then receive feedback. This cycle of planning, teaching, reviewing, and adjusting helps you grow in specific areas without needing to overhaul your entire teaching approach at once.
Instead of preparing a full hour-long lesson with multiple objectives, you focus on a narrow concept or skill. It might be how to explain a math process clearly or how to keep students engaged during transitions. By zooming in like this, you give yourself the space to improve one skill at a time.
This approach works well for teacher training, professional development, or simply self-improvement. New teachers gain experience and build confidence. More experienced educators use it to refine their strategies or test new ideas.
Why More Educators Are Using Microteaching
Educators turn to microteaching because it offers a safe, focused environment to experiment and grow. You’re not expected to deliver a perfect lesson. Instead, you’re encouraged to try something new, get feedback, and tweak your approach.
Some of the most common reasons teachers use microteaching include:
– Practicing classroom scenarios like handling disruptions, managing transitions, or supporting different learning needs.
– Refining delivery and timing so that lessons stay organized and engaging.
– Improving communication by working on clearer explanations and more thoughtful questioning.
– Testing new materials or strategies like using a new tech tool, visual aid, or student activity before rolling it out to an entire class.
Think of microteaching as a dress rehearsal. It’s a chance to work through challenges, polish your delivery, and build confidence—all without the weight of a full class watching your every move.

What a Microteaching Session Looks Like
A typical microteaching session includes the following steps:
– Choose a specific teaching goal.
– Create a short lesson plan that supports that goal.
– Teach the lesson to a small group or a few peers.
– Receive feedback.
– Reflect and revise your plan.
The full process usually takes no more than 30 minutes. You spend a few minutes introducing your topic, around 10 to 15 minutes teaching, and a few minutes collecting or discussing feedback.
You can run microteaching sessions in person or through recorded videos. They can be very effective when taught as an online class. Each method has its strengths. If you’re alone or working remotely, recording yourself is still a valuable way to see what’s working and what needs improvement.
Common Microteaching Formats
There are many ways to structure your session, depending on your goals. Some popular formats and lesson plan templates include:
Mini-Lessons
Mini-lessons are short lessons focused on a single objective. They work well for practicing clear explanations or transitions. For example, you might teach how to calculate the mean in statistics or explain how photosynthesis works.
One-Minute Lessons
These are exactly what they sound like—lessons that last about 60 seconds. They help you learn how to deliver a clear, focused message without unnecessary detail. You might use a diagram or a short visual to support your explanation.
Role-Playing
In this format, someone pretends to be a student or plays a part in a classroom scenario. This allows you to practice responses, manage behavior, or guide learning in a realistic setting. You can simulate challenges like off-topic questions, interruptions, or students who need more support.
Simulations
Simulations recreate real-world settings where students interact with lesson material. This format works well for lessons involving science labs, historical reenactments, or any content that benefits from hands-on learning. You can use physical props or digital tools to create the setting.
Case Studies
Case studies involve presenting a real-world scenario related to the topic you’re teaching. Then you guide students through analysis, discussion, and problem-solving. This helps build critical thinking and makes your lesson feel practical and relevant.
Video Recording
Instead of teaching live, record your lesson and watch it later. This allows you to reflect on your teaching style, body language, pacing, and clarity. You might notice things like how often you pause, whether you speak too quickly, or if your instructions are unclear.
Key Parts of a Microteaching Plan
Microteaching lessons are short and focused. That means your plan needs to be tight, organized, and to the point. A strong plan includes:
– A clear, measurable learning goal
– A list of materials or tools you’ll need
– A structured timeline of lesson steps
– A simple method to check if students understood the content
Let’s walk through this plan in more detail:
Writing a Clear Objective
Start by defining what students should be able to do by the end of your lesson. Avoid vague phrases like “understand the topic.” Instead, write goals that include action and results. Here are a few examples:
– “Students will solve a two-step equation using inverse operations.”
– “Students will identify three examples of figurative language in a short paragraph.”
Your objective should guide every part of your plan. If something doesn’t support your goal, leave it out.
Gathering Materials
Prepare everything you need before your session. This might include:
– A whiteboard and markers
– A slide presentation
– Diagrams or charts
– Printed handouts
– A timer or clock
– A camera or phone if recording
If you’re teaching online, test your microphone, video, and screen-sharing tools ahead of time. A smooth setup makes a big difference in your confidence and delivery.
Planning Lesson Steps
Break your lesson into clear parts. A typical structure might look like:
– Introduction (2–3 minutes): Ask a question, show a visual, or tell a short story to grab attention.
– Main Instruction (10–12 minutes): Teach the concept clearly and logically. Use examples or visuals.
– Activity or Practice (3–5 minutes): Let your students try something on their own or discuss with a partner.
– Wrap-up (2–3 minutes): Summarize the key point and restate the learning objective.
Write out your plan in bullet points or short phrases. That way, you can glance at it during your session if needed.
Adapting for Your Audience
If you know your audience well, tailor the lesson to meet their needs. Younger students may need more visuals or hands-on activities. Advanced learners might enjoy a challenge or open-ended discussion.
Even in a short session, you can include different learning styles. For example:
– Visual learners benefit from diagrams and slides.
– Auditory learners benefit from clear verbal explanations.
– Kinesthetic learners benefit from activities or movement.
Think about how you can keep everyone involved, even if the group is small.
Managing Time
Microteaching requires strict time management. If your lesson runs long, you won’t have time for reflection or feedback. Use a timer or stopwatch during practice. Here’s a sample timeline:
– 2 minutes: Introduction
– 10 minutes: Teaching content
– 5 minutes: Student activity or discussion
– 3 minutes: Wrap-up
If your session is even shorter, trim each section accordingly. The goal is to teach one idea well, not to cover everything.
Simple Assessment Methods
You don’t need a quiz or a worksheet. Instead, try quick checks like:
– Asking students to give a thumbs up or down
– Using an exit ticket with a question like “What’s one thing you learned?”
– Asking for one-sentence summaries
– Checking in with your observers or reviewers for feedback
If you record your session, watch it later and note what went well and what you’d like to change.

A Quick 5-Step Planning Process
Use this checklist to build your microteaching session:
– Define the Goal: Choose one skill or concept and write a clear, specific learning objective.
– Plan the Hook: Decide how you’ll grab attention at the start—question, image, story, or example.
– Organize the Content: List the key points and examples you’ll use to teach the topic.
– Prepare Materials: Gather visuals, slides, handouts, or any tools you’ll need.
Choose a Feedback Method: Decide how you’ll check understanding and how you’ll collect feedback on your teaching.
Tips for Running a Successful Microteaching Session
A strong microteaching session doesn’t have to be perfect, it just needs to be intentional. These tips will help you get the most out of your planning and practice:
Focus on One Objective
Trying to cover too much in a short time often leads to rushed or unclear teaching. Choose one specific skill or concept and build your session around it. Whether it’s improving your questioning techniques or practicing clear instructions, narrowing your focus helps you improve faster and makes the session more effective.
Practice with a Timer
Time management is one of the biggest challenges in any lesson. Before your session, rehearse with a timer to make sure you’re staying within your planned window. This helps you stay on track, avoid rambling, and ensure you leave time for reflection or feedback.
Ask for Honest Feedback
After the session, invite feedback from your peers, mentors, or even students if applicable. Don’t just ask if it went well, ask what could have been clearer, what felt rushed, or what they found most engaging. Constructive feedback helps you grow, even if it’s a little uncomfortable to hear.
Revisit and Revise
Once you’ve taught your micro lesson, try running it again with a few adjustments. Maybe you reword a question, add a new example, or try a different visual aid. The small tweaks you make from one version to the next can lead to big improvements.
Reflect on Your Growth
Take time to jot down what you learned after each session. What felt natural? What felt challenging? Did your students understand the concept? Keeping a short teaching journal or log can help you track progress over time and remind you of what strategies work best.
Online Tools to Support Microteaching
If you’re teaching remotely, practicing on your own, or looking to build digital versions of your microteaching lessons, the right platform can make a big difference. These tools offer features that support practice, interaction, and feedback.
EzyCourse
EzyCourse is a flexible course builder that lets you create custom lessons using video, quizzes, and discussion boards. It’s great for instructors who want to test out content in a digital format or gather feedback from a small group. Plus, it’s mobile-friendly, which makes it easy for learners to access your content from anywhere.
TalentCard
Designed for mobile microlearning, TalentCard makes it easy to create short, engaging lessons that include images, quick quizzes, and gamified elements. Its bite-sized approach works well for microteaching because it encourages clarity and simplicity. You can also track learner responses and adjust your materials based on what’s working.
Udemy
If you’re interested in sharing your micro lessons with a wider audience or building a library of on-demand content, Udemy is a popular option. You can upload pre-recorded videos, create structured courses, and let learners move through the material at their own pace. It’s also helpful for getting feedback through student reviews and engagement stats.
iSpring Learn
iSpring Learn is a professional learning management system that supports interactive courses, quizzes, and real-time tracking. It’s especially useful for corporate or professional development settings. You can monitor learner progress and customize content to fit specific skill-building goals.
EdApp
EdApp offers mobile-first learning with built-in gamification, allowing you to create engaging micro-lessons that include leaderboards, badges, and interactive quizzes. It also supports offline learning, so users can access content even without an internet connection. It’s ideal for fast-paced environments or on-the-go learners.

Why It’s Worth the Effort
Microteaching helps you become a more intentional, reflective teacher. It gives you space to pause, assess your methods, and try something new in a focused way.
Teaching isn’t about perfection. It’s about growth. With microteaching, you learn to deliver content more clearly, connect with learners more effectively, and manage your time with confidence.
You don’t need a classroom full of students to improve your teaching. Sometimes, all it takes is one focused lesson, a bit of feedback, and the willingness to try again.
Frequently Asked Questions
What is the main goal of microteaching?
Microteaching is designed to help educators improve specific teaching skills in a focused, low-pressure environment. By practicing short lessons and receiving immediate feedback, teachers can reflect on their approach and make targeted improvements. It’s a practical tool for professional growth.
How long does a microteaching session last?
Most microteaching sessions run between 20 and 30 minutes. This includes time to teach the lesson, receive feedback, and reflect on what went well and what could be improved. The short format keeps the focus sharp and manageable.
What are the different types of microteaching?
There are several styles of microteaching, each offering a different way to practice and improve:
– Mini-Lessons – Focused lessons on a single topic
– One-Minute Lessons – Short, rapid-fire explanations to practice clarity
– Role-Playing – Simulated classroom situations to build confidence
– Simulations – Recreating real-world scenarios using props or tech
– Case Studies – Problem-solving exercises based on real examples
– Video Recording – Reviewing your teaching style through recorded sessions
Each method lets you explore different aspects of teaching and adjust your approach based on feedback.
Why do clear learning objectives matter in microteaching?
Clear, measurable learning objectives help guide your lesson and keep it focused. They also let students know exactly what they should be able to do by the end. A well-defined goal makes it easier to plan your content, stay on track, and assess if your teaching was effective.
How do online tools improve the microteaching experience?
Digital platforms can add flexibility and interactivity to your microteaching sessions. Tools that support video, quizzes, mobile access, and feedback features make it easier to test your lessons, reach learners in different locations, and track progress. They also let you experiment with different teaching formats and gather feedback in real time.
Spotlightr Video Hosting For Your Course
Discover why Spotlightr is the #1 choice for course creators and e-learning professionals.
Register for a free 2 week trial, no credit card required.