Outlining Saves Time and Money and Helps You Achieve More, Faster
Creating a well-structured online course starts with a solid course outline. Think of the outline as your course’s blueprint, setting the stage for a clear, organized learning experience. It helps you lay out the content logically, clarifies expectations for students, and keeps the course on track.
If you’re here, we figure you’re thinking of finally putting that online course together. Or you’ve already decided to do it and want to know where to start.
Welcome! We’ll answer that question for you. But, first, it can be helpful to establish a few key reasons why it’s a great idea to package and monetize your expertise into your new course in the first place.
This way, by the time you get to outlining, you’re crystal clear on how to make the best decision at each stage of your course creation. Understanding this can also provide valuable insights into promoting and selling your course effectively.
Why You Should Create an Online Course
There are many reasons why people decide to finally create that online course they’ve been thinking about developing for a while. Not all of the below list will apply to you. For those that do, try to keep them in mind when you get to your outlining stage, and again when you begin filling out the actual content for your course. Passion for a Subject: You want to share your knowledge. Monetization: You want to create a new source of income based on your knowledge. Audience growth: You want to attract new students or followers, without geographic restriction. Flexibility: Online courses are easier to schedule and deliver, including at scale. Building authority: Further establish yourself as an expert in your field. Provide value: Empower your students to achieve their goals and improve themselves. Professional growth: Develop new skills and knowledge to populate your course. Flexibility: Create courses and teach in a way that reflects your own style and perspective. Understanding the potential benefits of creating an online course can help you make an informed decision about whether to invest your time into the task. You’ve probably considered some of the above reasons, but looking more closely at the full list could unlock even more to think about before you begin outlining your content.
Why You Should Outline Your Online Course
An online course outline serves as a guide for both instructors and students, detailing what needs to be covered and in what order. It’s more than just a plan—it’s the foundation for building a cohesive and engaging course. With a solid outline, you’ll have a clear view of what to teach, how to sequence the content, and where to include key activities and assessments.
Or maybe it’s more simple…maybe you have some online course ideas that needed to be fleshed out. Or someone told you that you need an outline, or you read it somewhere else. Or perhaps you’ve leaned on outlines for other types of content, but are wondering if you really need to do it for your course.
Some people don’t outline. They’re comfortable delivering knowledge off the cuff, and they lean on their experience speaking publicly, as well as some skillful editing and assembly, to produce their course videos and modules.
For most creators, however, the benefits to outlining far outweigh the extra time needed to plan. An effective course outline includes core details like objectives, key topics, assessments, and additional resources. It’s like a roadmap that provides students with an overview of what they’ll learn and when, so they stay focused and engaged. Plus, a good outline helps you, the instructor, stay organized and deliver content efficiently.Outlining helps support:
Clarity: Building an outline helps you organize your thoughts, ensuring strong structure and presentation for your ideas.
Time savings: Surprise! Taking extra time to outline can actually save time later on fixes to your course content.
Improved outcomes: Outlined courses tend to boast greater precision, which produces better engagement and results from students.
Consistency: Working off an outline makes it more likely that course modules sync up well with each other, producing another net positive for students.
Collaboration: Especially for course creators enlisting a team to help produce your content, an outline provides a blueprint for working together with others. It also saves you money, by reducing the number and depth of revisions when it comes to the groundwork of creating your audio and visual assets.
Pursuing these outcomes means buckling up and performing the actual work of outlining. This is a mostly straightforward process that does have some nuances when it comes to course creation.

How to Outline Your Online Course and Key Components
Your outline is your roadmap for the entirety of your course content. It doesn’t restrict you from making changes to your plans later on, but it does help you stay the course (get it?? 😂) as you organize your ideas into the best possible form for instructing your students.
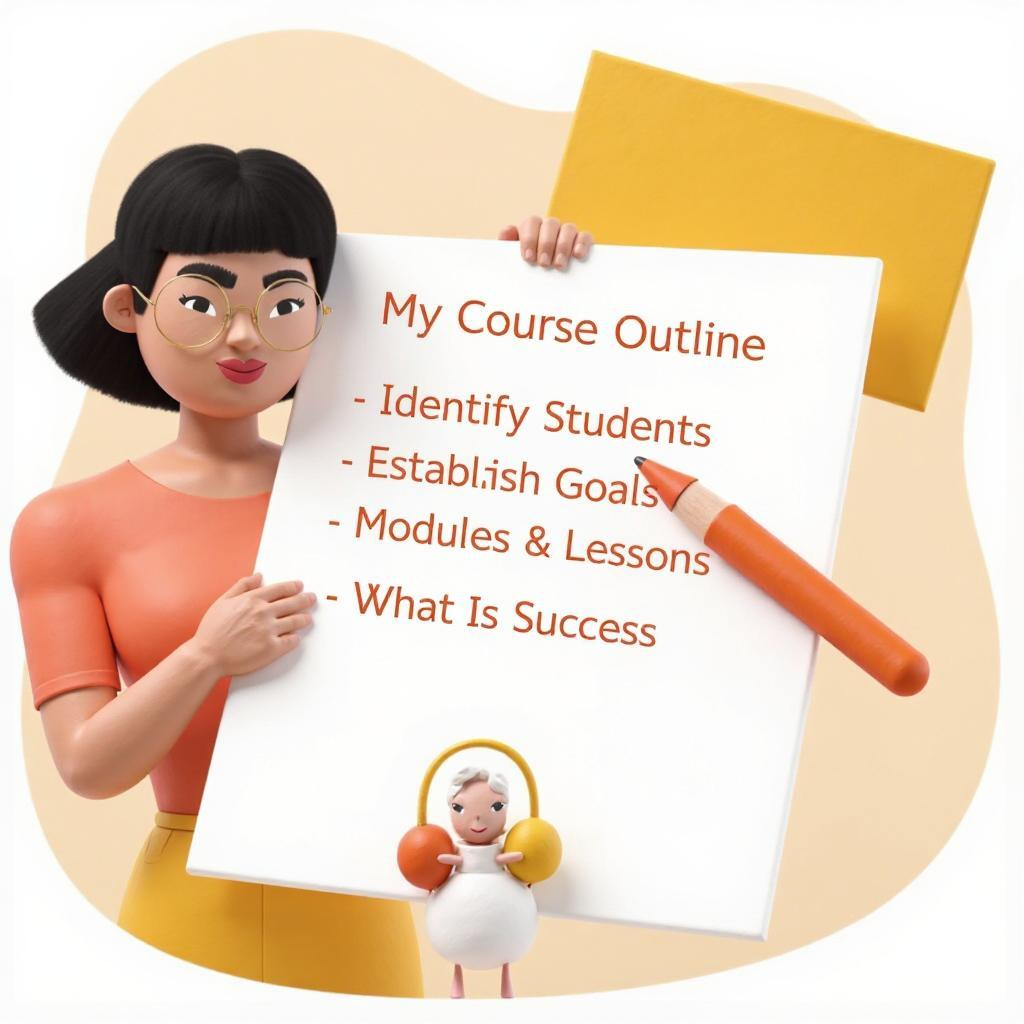
Step 1: Identify Your Target Audience
Understanding who you’re teaching is crucial to making your content relevant and engaging. Start by building a learner profile that includes basic demographics, skill levels, and goals. Are they beginners or advanced learners? Are they professionals or students?
Knowing your audience helps you tailor your teaching style to their needs. For example, if you’re teaching professionals, consider offering shorter, more intensive lessons they can tackle in small segments. If your audience is younger students, you might want to integrate more interactive, game-like elements. By pinpointing who your students are, you can create a course that resonates with them and keeps them coming back for more.
Step 2: Distill the Course Objective into Two Sentences
Determining your course objective could take up more time than you might expect. Try to distill what you want your students to learn, down to a page. Then half a page. Then a paragraph. Finally, a sentence or two. This exercise will also give you an excellent head start on the remainder of your outline. Don’t rush this step! Do the work, let it rest, come back to it a day or two later. Repeat until everything is clear.
Alternatively, if you’re a course creator who is basing their course on pre-existing content (like a book or a series of blog posts) you could dive right into defining your two-sentence objective and then expand out in the other direction when completing the next few steps on this list.
Step 3: Learning Outcomes
Now we can get more specific for students. Clear, specific outcomes tell students exactly what skills or knowledge they’ll gain by the end of the course.
Learning outcomes describe what students should know, understand, or be able to do by the end of your course. These outcomes guide your content and help you decide what to include and what to leave out.
Make each outcome specific and measurable. For example, instead of saying, “Students will understand marketing,” a clearer outcome would be, “Students will be able to create a basic digital marketing plan.” You can jot these down in a bulleted list or use a method like Backward Design, where you start with the end goal and work backward to decide how to get there. Learning outcomes give both you and your students a clear sense of direction.
Step 4: Create a List of Modules
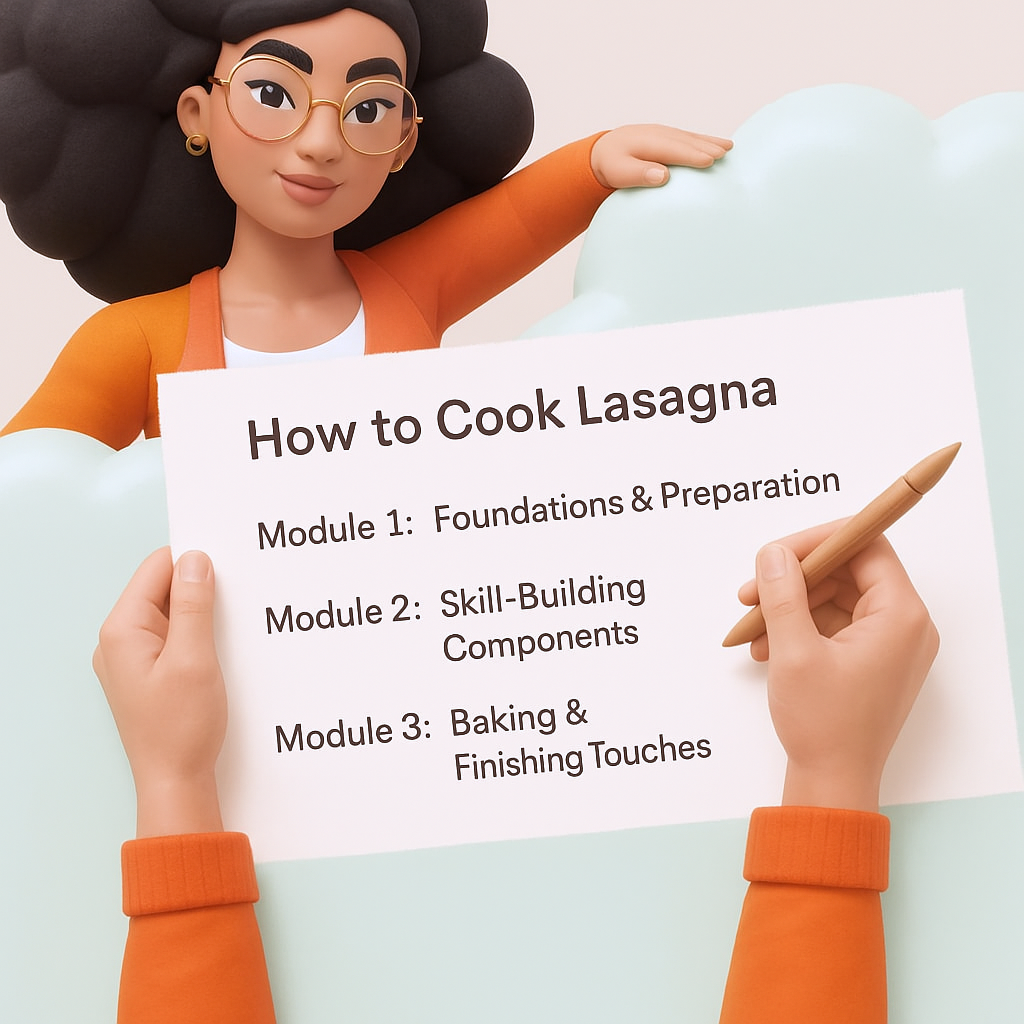
Modules are the real building blocks of your outline. Each module should relate to a specific topic that falls under the umbrella of your course objective. Divide your content into modules to make it easier for students to navigate and digest. Each module should focus on a specific aspect of the course topic and typically includes 3-7 lessons to keep things manageable. Within each module, outline the main topics and decide how you’ll sequence them logically.
Having a modular structure makes the course feel cohesive and keeps students from feeling overwhelmed. A clear roadmap like this keeps everyone focused and helps students progress steadily through the course.
For example, if your objective is to teach students how to write a novel, modules might include “Character Development,” “Plotting,” and “Editing and Revisions.”
Step 5: Break Down Each Module into Lessons
After mapping out the modules, list the lessons and topics for each one.
It’s common in most courses for modules to include subtopics, in the form of individual lessons. The “Editing and Revisions” module from the preceding example might include three videos on “Gathering Feedback,” “Editing Yourself vs. Hiring an Editor,” and “Revisions: Tools and Processes.”
Step 6: Create Sub-Objectives for Each Lesson
Each module and lesson should have its own clear objective related to the overall objective you set in Step 1. Lesson notes will likely form the bulk of the actual content in your outline. For each lesson, ask yourself what students should take away from watching the video. What should they be able to do by the time they’re done watching?
Step 7. Choose the Right Learning Activities
To keep students engaged, mix up the learning activities to make them interactive and aligned with your outcomes. Think about incorporating different types of activities, like group discussions, quizzes, interactive projects, or hands-on tasks that let students apply what they’ve learned.
Supplement your lessons with additional resources, such as videos, articles, or tools that help reinforce key concepts.
Consider adding activities like breakout sessions, audience polls, or even guest speakers for variety. By combining these elements, you’ll increase engagement and provide students with different ways to grasp the content. Providing links to resources, support services, and guidelines for collaboration can also make the online learning experience smoother and more engaging.
Step 8: Determine What Success Looks Like with Assessments and Feedback
For formal educators or course creators seeking to create a similar environment, this is the stage where you would decide how to assess students on how well they understood and/or applied the lessons in each module, and overall for the course. Assessments play a key role in helping students measure their progress and understand where they need improvement. Plan assessments that directly connect to your learning outcomes so that they reinforce what you’ve taught. This can include quizzes, assignments, projects, or even peer-review activities.
Quizzes, projects, surveys – consider which (if any) would best match up to measuring how well objectives were met. Anything of this type that needs to be included as content in your course should go into your outline.
Don’t forget to add knowledge checkpoints, like non-graded quizzes, to keep track of students’ understanding as they go. Offer grading criteria upfront, so students know what to expect and how their work will be evaluated. By giving feedback through assessments, you’ll help students stay motivated and aligned with course objectives.

Using Templates to Simplify the Process
Templates save time and ensure your course outline includes all essential elements. Many templates provide a basic structure that you can customize to fit your style and course needs. They serve as a helpful framework, making it easy to lay out modules, lessons, activities, and assessments.
Free downloadable templates are a great place to start. They’re especially useful if you’re new to course creation, as they give you a ready-made structure that includes learning outcomes, modules, and activity ideas. Some templates also include multimedia elements, like placeholders for screen recordings or audio files, which make it easy to add rich, interactive content to your course.
Using a template lets you focus more on the quality of the content itself rather than getting bogged down in organization.
Best Practices for Course Outline Design
A well-thought-out course outline saves time and makes learning more enjoyable. Here are some best practices to follow:
Keep a Logical Flow: Organize your content in a logical order, with each topic building on the previous one. This sequence helps students understand the progression and see how each lesson fits into the bigger picture.
Add a Course Overview: Start with a brief course description that explains what students can expect. This overview gives students a snapshot of what they’ll learn, helping set the tone and prepare them for the journey ahead.
Include a Schedule: Adding a suggested course schedule allows students to manage their time better. They’ll have a clear view of how much they need to cover each week and how to pace themselves throughout the course.
Provide Extra Resources: Supplement your course with resources like articles, videos, or tools that add depth to the material. These resources can serve as references that students can revisit anytime.
Following these practices helps keep your course structured, organized, and engaging from start to finish.
Common Pitfalls to Avoid
Building a course outline is a skill, and it’s easy to make mistakes. Here are a few common pitfalls to watch out for:
Information Overload: It’s tempting to include everything you know, but too much information can overwhelm students. Stick to the essentials, focusing on what truly adds value.
Lack of Engagement: Leaving out interactive elements can make a course feel flat. Balance content delivery with hands-on activities that engage students and help them apply what they’ve learned.
Unclear Outcomes: Vague learning outcomes lead to confusion. Make sure your outcomes are specific, measurable, and aligned with your course goals.
Awareness of these pitfalls will help you create a focused, organized, and engaging course outline that students

Conclusion: Outlining Takes Work, but It Almost Always Pays Off
It’s an exciting moment, when you finally decide to create your course. Or when you’re ready to start building a new one.
Creating an effective course outline involves several steps: understanding your target audience, defining clear learning outcomes, organizing content into modules, selecting the right activities, and incorporating assessments. Using templates simplifies the process and ensures you don’t miss any important elements. Following best practices for design will help you build a course that’s both valuable and easy to navigate.
It can be tempting to dive right in shortly after, or to rush through the outlining phase to get to the “fun stuff.” By now, though, we’ve hopefully made it clear that outlining your online course is the best way to assure that you achieve the goals you’ve set in creating and bringing it to market.
By keeping these tips and guidelines in mind, you’ll create a comprehensive and engaging course outline that sets up your online course for success. Start building your roadmap today, and watch as your course comes to life!
So gather your notes, set aside some time, and get outlining. Your students will thank you!
Spotlightr Video Hosting for Your Course
The only video host with a blazing fast player, a suite of built-in marketing tools for your course, and HLS encryption to truly protect your intellectual property from piracy.
Sign up for a 14 day free trial, risk free. No credit card required.
Frequently Asked Questions
Why is a course outline important in the course creation process?
A course outline acts as a blueprint that keeps everything organized and focused. It provides a clear path for both instructors and students, ensuring the learning experience is smooth and cohesive.
What are the key components of an effective course outline?
An effective outline includes a course description, clear learning outcomes, organized modules, varied learning activities, assessments, and additional resources. Together, these elements ensure the course is both structured and valuable for students.
How can I identify my target audience for an online course?
Start by creating a learner profile with details like demographics, skill levels, and goals. This will help you design content that resonates with their learning needs and preferences.
What are some best practices for designing a course outline?
Organize topics logically, add a course overview, include a schedule, and provide extra resources. These steps create a more engaging and user-friendly experience for students.
How can I avoid common mistakes when creating a course outline?
Avoid overwhelming students with too much information, include interactive elements, and keep learning outcomes clear and measurable. Using a structured approach will help you create a course that’s both focused and engaging.

