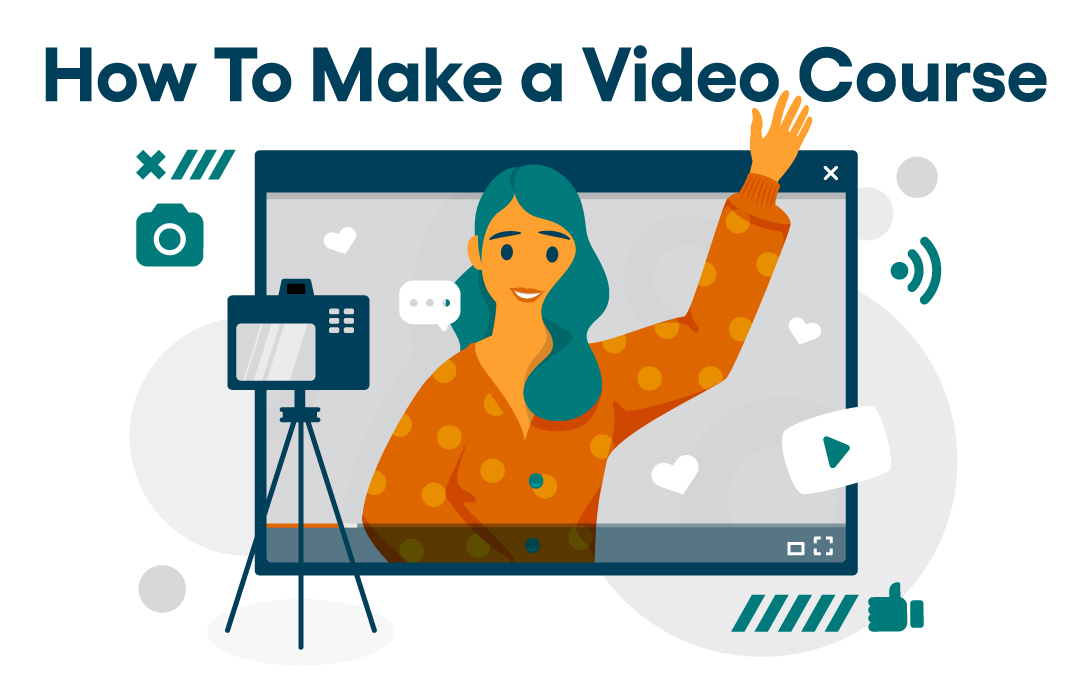
Picture this: You have a wealth of knowledge and a desire to share it with the world. You know people would benefit from learning what you have to offer, and you’ve seen the rising demand for online education. You decide to create a video course, but after some research, you’re hit with the realization—it’s not as simple as hitting the “record” button on your phone. You need a plan, a process, and a strategy to make sure your course stands out in the crowded world of online learning.
Video courses have become one of the most effective ways to teach online. They offer a multi-sensory learning experience that captures attention and boosts retention. Unlike text-based courses, video courses provide visuals, sound, and a human element that makes learning more engaging and memorable. If you’ve ever found yourself replaying parts of a YouTube tutorial to “get it right,” you already know the power of video learning.
This guide will take you through every step of creating a professional video course, from brainstorming your course topic to promoting it to potential students.
Why Video Courses Are So Effective
Video courses are a staple of online learning. Their effectiveness lies in how they engage multiple senses. Students see the content, hear it explained, and often see demonstrations or animations that make the material more relatable. This multi-sensory experience increases retention and understanding.
But there’s another reason video courses are so powerful: human connection. Students are more likely to stay engaged when they see a real person speaking directly to them. A friendly face, a relatable story, or even a small moment of humor can make students feel more connected to the instructor. This connection increases the chances they’ll complete the course, leave positive reviews, and recommend it to others.
If you’ve ever watched a video tutorial on YouTube and felt compelled to “like and subscribe,” you’ve experienced this effect. It’s this same dynamic that makes video courses a preferred format for online education.
Step 1: Choose Your Course Topic
The first step in creating a video course is selecting a topic that will appeal to your audience. You might already have an idea, but it’s worth validating it before you dive into production. A great course topic should balance two key factors: your expertise and market demand.
How to Choose a Course Topic
Start by asking yourself these questions:
– What am I knowledgeable about that others struggle with?
– What do people frequently ask me for help with?
– What’s currently trending in my field or industry?
Once you have a list of ideas, research the demand. Look at existing online courses on platforms like Udemy or Skillshare to see what’s selling well. Check forums, Reddit threads, or social media groups related to your field. If you see people asking questions or looking for advice on a particular topic, that’s a sign there’s demand for a course.
Tip: Don’t pick a topic just because it’s trending. Choose something you’re passionate about, as that passion will show in your videos and keep you motivated throughout the process.

Step 2: Plan Your Course Structure
With your topic nailed down, it’s time to plan the structure of your course. Think of it as creating a roadmap for your students, guiding them from where they are now to where they want to be.
Break Your Course into Modules and Lessons
Start by dividing your course into key sections, often called “modules.” Each module should cover one big idea. Within each module, you’ll create individual lessons to break down specific concepts. This structure keeps students from feeling overwhelmed.
For example, if you’re teaching a course on graphic design, your modules might be:
– Module 1: Introduction to Design Principles
– Module 2: Working with Design Software
– Module 3: Designing for Print vs. Digital
Each module would then have 3-5 individual lessons that guide students step-by-step.
Create Learning Objectives for Each Lesson
Students should know what they’ll learn from each lesson. Write a clear learning objective for each one. This not only helps students stay on track but also keeps you focused on what to include in each lesson.
Step 3: Script and Storyboard Your Videos
Now that you have a structure, it’s time to script your lessons. Even if you’re comfortable improvising on camera, having a script will save you time and keep your message clear.
How to Write a Course Script
– Keep it conversational: Write as if you’re talking to one student, not an audience.
– Focus on clarity: Avoid jargon or over-explaining.
– Stick to the point: Keep each script focused on one key takeaway.
After scripting, you’ll want to create a storyboard. This is a visual outline of what will be on-screen during each part of your video. Will there be an animation? A chart? A demonstration? Planning this in advance keeps production smooth and efficient.
Step 4: Set Up Your Recording Space
You don’t need a fancy studio to create a professional-looking course, but you do need a clean, quiet, and well-lit space.
Location Tips
– Record in a quiet room with soft furnishings to absorb sound.
– Use natural light, or invest in softbox lights to avoid harsh shadows.
– Make your background clean and clutter-free.
Equipment You’ll Need
– Camera: A smartphone with a good camera is fine, but a DSLR offers higher quality.
– Microphone: Clear audio is crucial. A lapel or USB condenser mic works well.
– Tripod: Stabilize your camera to avoid shaky footage.
Test your setup before recording. Do a test clip to check lighting, sound, and framing. Check our extensive buying guide if you need more help and details with equipping yourself right.

Step 5: Record Your Videos
It’s showtime! Recording may feel awkward at first, but you’ll improve with each take. Here’s how to make it easier.
Recording Tips
– Record multiple takes for safety. It’s easier to edit later.
– Use a teleprompter app if you have a long script.
– Take breaks if you mess up. You can edit mistakes out later.
If you’re nervous, remember that editing can clean up mistakes. Setting the space up and having the right mindset will help, then just focus on being authentic and energetic.
Step 6: Edit Your Videos
Editing is where your raw footage becomes a polished, professional course. This is where you can add text, animations, and transitions.
Editing Software Options
– Beginner-friendly: iMovie, Filmora, or Camtasia
– Advanced: Adobe Premiere Pro or DaVinci Resolve
When editing, focus on:
– Cutting out mistakes or pauses
– Adding transitions for a smooth flow
– Inserting text, graphics, or animations
Don’t go overboard with effects. There are some basic video lesson editing principles you can adhere to and it’ll get your video done properly. Remember…clean, simple cuts are better for student learning.
Step 7: Upload and Publish Your Course
With your course ready, it’s time to upload it to a learning platform. Choose a platform that fits your needs, such as Teachable, Thinkific, or Kajabi.
How to Upload and Organize Your Course
– Break your course into modules and upload lessons accordingly.
– Add lesson descriptions, downloadable resources, and captions.
Once uploaded, preview your course as if you were a student. Check for any technical issues or typos.
Step 8: Market and Sell Your Course
To sell your course, people need to know it exists. Marketing is just as important as creating the content itself. There are even some pre-marketing steps you can take before your course is even complete.
How to Promote Your Course
– Email List: Send email updates to your subscribers.
– Social Media: Share clips and behind-the-scenes content.
– Content Marketing: Write blog posts related to your course topic and link to it.
Sales Pages that Convert
A sales page should highlight the course’s value, the skills students will learn, and testimonials. Clear, compelling calls-to-action (like “Enroll Now”) are key to converting browsers into students.

Gathering Feedback and Improving Your Course
Gathering feedback is essential to refine and improve your video course based on the needs and experiences of learners. Analyzing the feedback allows for identifying common trends and specific areas for improvement in your course.
Collect Learner Feedback
Using Google Forms and surveys are effective methods for collecting student feedback. Integrate feedback collection tools like Teachable to streamline the process of gathering insights from learners.
Regularly soliciting feedback helps you refine course content and delivery, leading to better learning outcomes.
Implement Improvements
Adjustments to course content should be informed by specific feedback areas that students indicate require improvement. Identifying actionable suggestions helps prioritize changes that can be implemented immediately or in future courses.
Offering additional resources can enhance the learning experience by providing students with tools to apply what they’ve learned.
Types of Videos for Online Courses
If you’ve ever taken an online course, you know that the format of the video can make or break the learning experience. Some videos feel like a personal chat with an instructor, while others feel like you’re watching an interactive explainer. Each type of video has its place, and using a variety of formats keeps students engaged while appealing to different learning styles.
Talking-Head Videos
Talking-head videos are one of the most common formats for online courses—and for good reason. This style puts the instructor front and center, talking directly to the camera, which makes the experience feel personal and relatable. It’s like having a one-on-one lesson with a teacher.
When to use talking-head videos:
– Introducing new modules or lessons
– Explaining key concepts that require a personal touch
– Sharing personal stories or real-world examples
Pro Tip: If you’re nervous on camera, remember that students aren’t looking for perfection. They’re looking for authenticity. Speak naturally and keep your energy up, even if you have to re-record a few takes.
Animated Explainer Videos
Some concepts are too complex to explain with words alone. That’s where animated explainer videos come in. By combining visuals, motion, and narration, this format makes abstract concepts easier to understand. Think of the animated videos you’ve seen in financial literacy courses or tech tutorials. They take big, complicated ideas—like how an algorithm works—and break them down into simple, visual explanations.
When to use animated explainer videos:
– Clarifying abstract or technical concepts
– Visualizing processes, data, or cause-and-effect relationships
– Adding variety to your course to keep students engaged
Pro Tip: Don’t overcomplicate your animations. Stick to clean visuals that support the learning objective. Tools like Vyond and Animaker make it easy to create simple but effective animations.
Screen Recording Videos
If you’re teaching software skills, screen recording videos are your best friend. This format captures your computer screen as you walk students through tasks, step-by-step. It’s essentially a “watch-and-do” experience for students, allowing them to follow along in real-time.
When to use screen recording videos:
– Teaching software skills or app navigation
– Walking students through “how-to” tutorials
– Demonstrating online platforms, dashboards, or interfaces
Pro Tip: Use annotation tools (like arrows or highlights) to draw attention to key actions on the screen. This makes it easier for students to focus on what matters most.

Demonstration Videos
Sometimes, words aren’t enough. When you need to “show, not tell,” demonstration videos are the way to go. These videos capture instructors as they physically perform a task, allowing students to see exactly how it’s done.
When to use demonstration videos:
– Showing students how to perform a physical task (like baking, crafting, or fitness)
– Teaching step-by-step techniques that require precision (like assembly or repairs)
– Helping students learn practical, hands-on skills
Pro Tip: Use multiple camera angles. A close-up shot of your hands during key moments (like tying a knot) makes it much easier for students to follow along. If you only have one camera, shoot the same action from different angles and edit the clips together later.
Which Video Style Should You Use?
You don’t have to pick just one format for your course. The best online courses mix and match different types of videos to keep students engaged. For instance, you might start each module with a talking-head introduction, then use a screen recording for a technical walk-through, and end with an animated explainer to visualize the bigger picture.
Each format serves a unique purpose, and together, they create a dynamic learning experience. So, don’t feel like you have to stick with just one style. Use the approach that best fits the content of your course and the learning objectives of your students.
Final Thoughts
Creating a video course takes effort, but it’s worth it. From choosing a topic to recording and promoting it, each step brings you closer to sharing your knowledge with the world. The beauty of a video course is that, once created, it can generate passive income for years to come.
So, what are you waiting for? Take that first step. Pick your topic, outline your lessons, and hit “record.” There’s an audience out there waiting to learn from you.
Frequently Asked Questions
What type of video should I start with for my first online course?
Start with talking-head videos; they create a personal connection with your audience and are easy to produce. Embrace this approach and you’ll set a solid foundation for your course.
How do I choose the right topic for my online course?
To choose the right topic for your online course, focus on your expertise and what excites your audience. Validating your idea through beta testing will boost your confidence and ensure demand.
What equipment do I need to record my video lessons?
To create high-quality video lessons, make sure to have a good microphone, a camera or smartphone, and a tripod. These tools will elevate your videos and improve your teaching.
How can I effectively promote my video course?
To effectively promote your video course, leverage social media to build excitement and connect with your audience, while utilizing email marketing for updates and special offers.
How do I gather and implement feedback to improve my course?
Gathering feedback through tools like Google Forms and Teachable can enhance your course. Act on the suggestions to continuously improve and provide a better learning experience for your students.
Spotlightr Video Hosting For Your Course
Discover why Spotlightr is the #1 choice for course creators and e-learning professionals.
Register for a free 2 week trial, no credit card required.